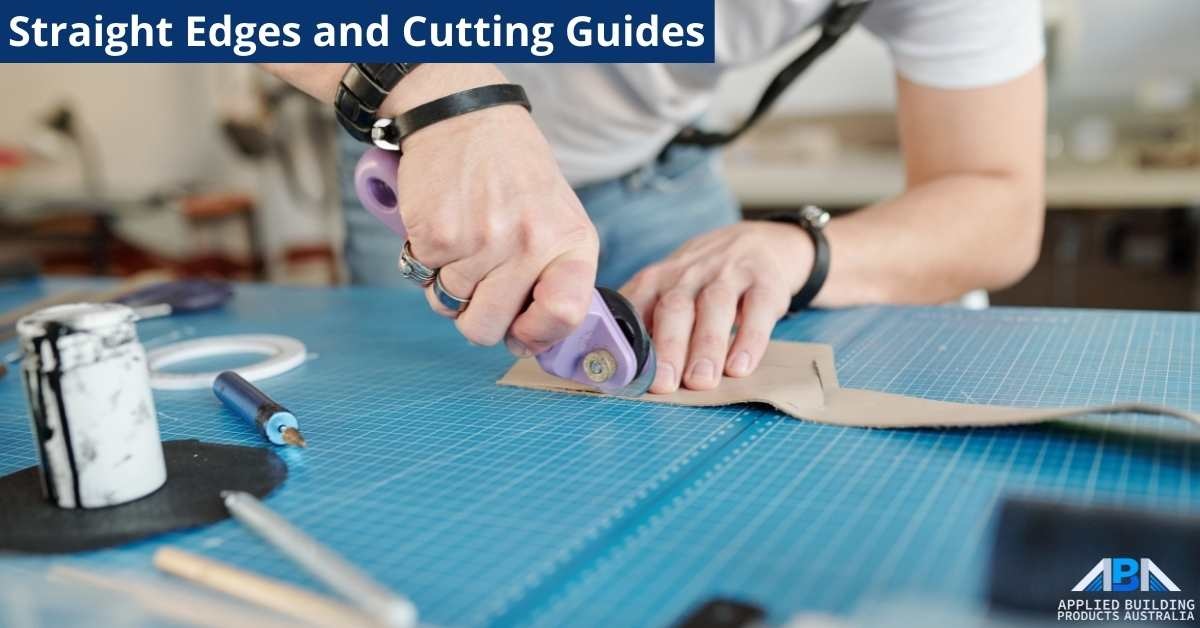
Straight Edges and Cutting Guides
Straight edges are an instrument to cut guidelines for copying straight lines from one place to the next or checking the straightness an already drawn line. A straight edge that has equally spaced markings is known as a ruler. Straight edges aren't only an excellent option to mark, check or write precisely linear lines but is also an effective method of measuring shorter distances (96 inches or less eight feet). Applied Building straight edges and rulers include length and graduation markings to ensure simplicity of use during the process of building.
How to Read a Straight Edge
- Choose the proper size of the tool to do the task. Although a straight 72-inch edge can be used for drawing or measuring lines of 4 inches but it's more practical to choose a smaller cutter guide. Utilizing a twelve inch (standard feet ruler) is easier and quicker, since the foot-long was designed for lengths of 12 inches and below.
- Be aware of the marks at the edge of the straight line or the ruler. The more prominent the markings and the larger the size of the mark, the greater the increment and the reverse. On a typical 12-inch ruler, the biggest markings represent a full inch.
- Smaller marks in between inch marks denote fractions of inches, with the size of the fraction being exactly proportional to how big the marking. For instance, markings of 1/2 inches is smaller than the mark of an inch. The number of marks on the straight edge or ruler is determined by how small each inch breaks down.
- A ruler's markings shift from left to right as would you are reading the pages of a book. This means that, on a standard foot ruler, there is one inch on the left side and 12 inches at the right edge. Remember this when you use cutting guide tools.
How is a Ruler Different from a Straight Edge?
- Check those edges along the edge of your straight line.
- If there are marks indicating the units of measurement around the edges, this is a ruler.
- If there is no marking there are no markings, it's just an edge that is straight.
- A ruler can be utilized to measure and mark straight lines.
- Straight edges won't aid in measuring, but the majority of them are constructed more durable than rulers, which makes them an ideal tool to mark straight lines.
- In the majority of instances, rulers function as straight edges.
How to Use a Straight Edge
- Make use of a straight edge to trace straight lines, and also to serve as a reference for cutting.
- Find out where you'll have to cut.
- Make sure to mark each edge to the desired length. Then mark the opposite edge at exactly the same size (or differently, if you need a cut that is angled).
- Make sure that you line up every mark on the opposite end of the straight edge.
- Draw the pencil across an edge straight. Repeat as often as necessary to ensure the line is clearly visible.
- You've got an exact straight line that you can cut across.
- You can make use of the straight edge as a reference for using your table saw (use clamps that clamp the straight edge to the edges).
How to use a Straight Edge using a circular saw
- Assume that you've drawn an even straight line and are now ready to make cuts.
- Place your circular saw blade to this line. However, don't yet switch on the saw.
- Draw a line the point where the saw's base plate meets on the wood, along the edges of the wood.
- Take note of the distance you have cut line until you have marked the bottom of your base plate.
- Move to the opposite end of the piece. Make use of a construction pencil to mark the same distance, as near in the direction of the board as is possible.
- Use a straight edge to trace the base plate line.
- Straight edge to the new bottom plate's line.
- If you're using a straight edge made of aluminum or metal, ensure that the straight edge is secured to the board using c-clamps placed on the ends of your board.
- If you're using a guide made of wood as straight edges (a 2x4 or 1x4), you could utilize c-clamps, or simply screw the guide into the cutting board, unless you intend to use the rest part of the wood.
- Once your straight edge appears secured ensure that the blade is aligned to the cut line and ensure that the straight edge is positioned correctly.
- Cut it out.
If you are in Clayton, Victoria 3168, and looking for quality building products, this is the best way to visit us.
Applied Building Products Australia – ABPA
2/237 Princes Hwy, Hallam VIC 3803
012 3456789


0 Comments
There are no comments yet, be the first one to comment....